viseq
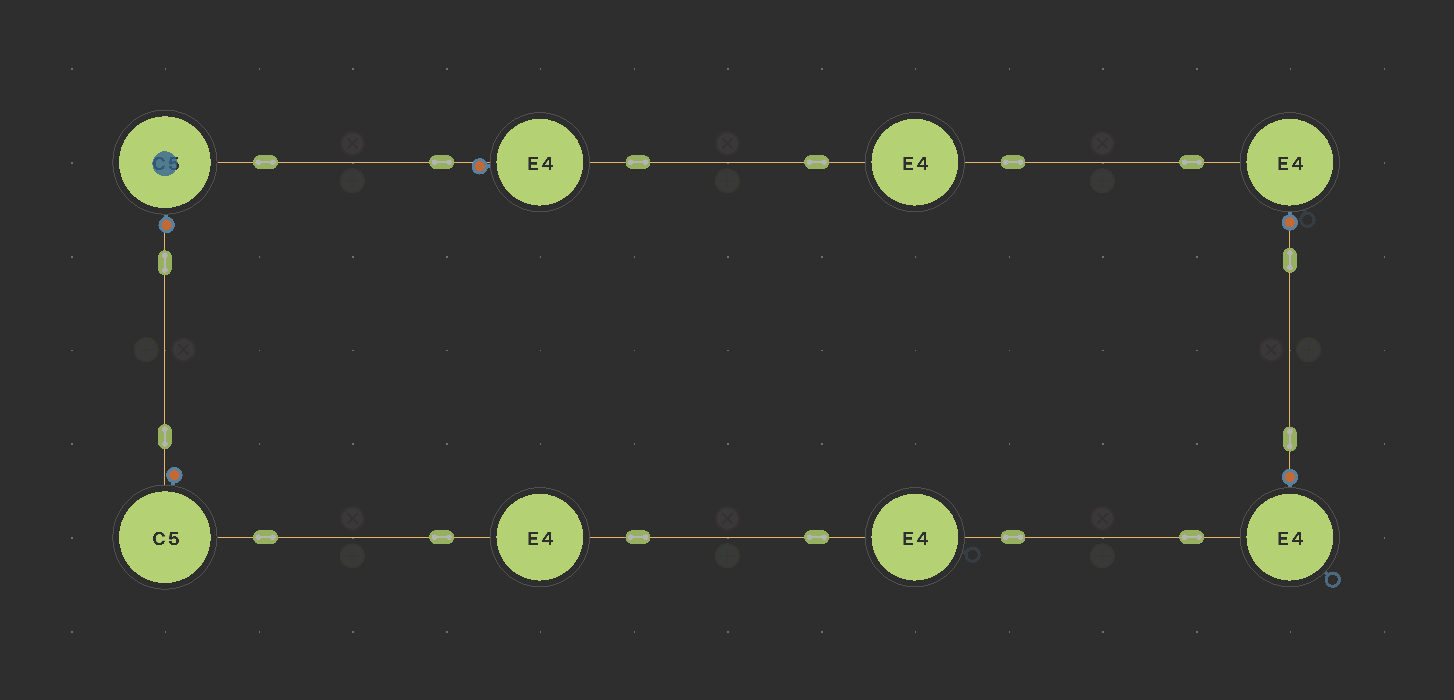
A Visual Sequencer
Viseq started as an experiment with raylib, raygui and libremidi. A first working protoype was quickly hacked together. It was so much fun to play with, that I decided to take it a bit further. It is now in a working state, has a few known (and unknown) bugs but runs quite stable. It is also an experiment in C++23 with its functional features and uses the awesome nlohmann/json library for serialization of the application state.
It is an ongoing work in progress. There is no saving, or loading of files yet, only the current state of the graph is saved at exit and loaded at startup.
Code is 98% not commented, not well designed and overall still in a prototype state. Feel free to reach out if you want to contribute!
 jbbth
jbbth
USAGE
viseq sends out midi data on virtual outputs by default. In addition every node can be configured to output midi data on multiple physical ports, too. The midi port system is designed to be flexible. Every node can be configured independently if needed. Nodes can send all kinds of midi data.
CHANGING NODES
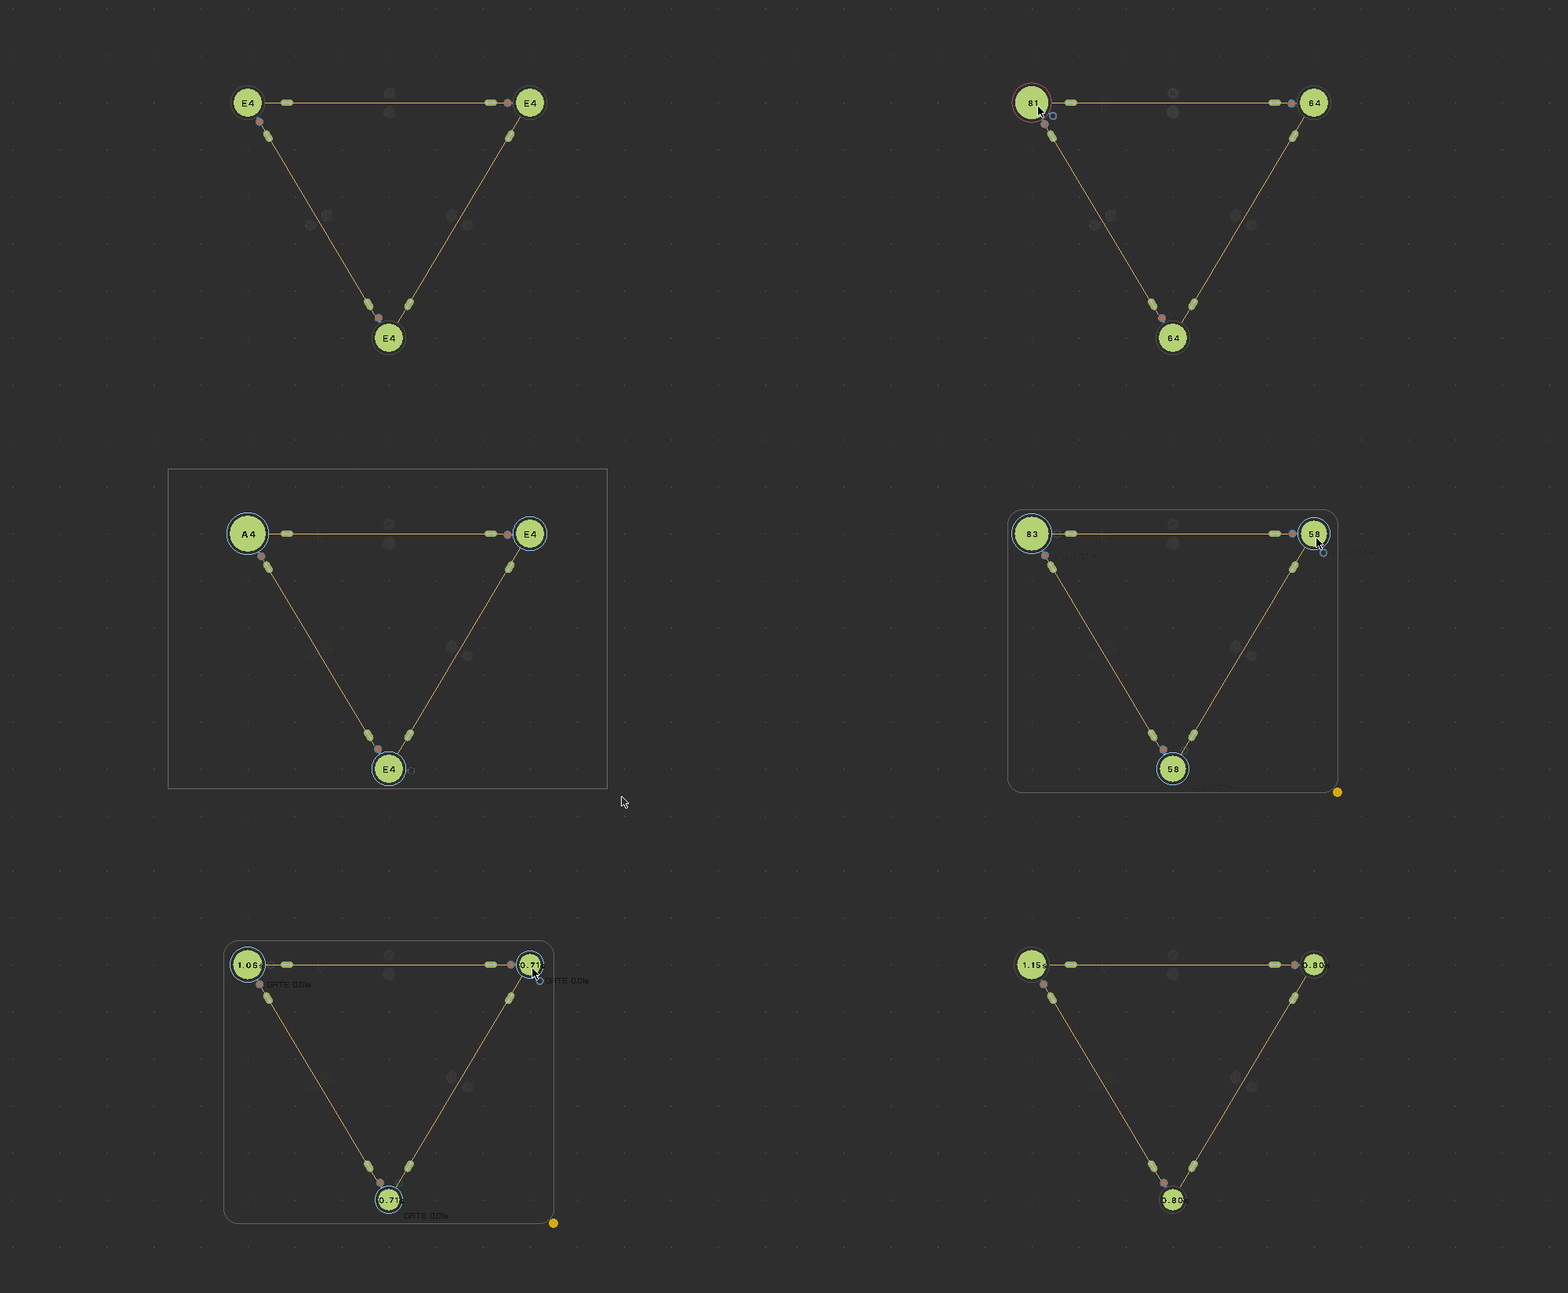
Nodes can be moved around, connected and modified. Right-clicking opens a context menu with settings (changing multiple nodes via context menu is not working yet). Midi settings can also be changed with the mouse-wheel and modifier keys while hovering over a node. Selected nodes can be changed together. Draw a selectionbox around all nodes that you want to change.
MOUSE WHEEL
- ctrl + wheel -> change midi note
- shift + wheel -> change midi velocity
- alt + wheel -> change midi gate
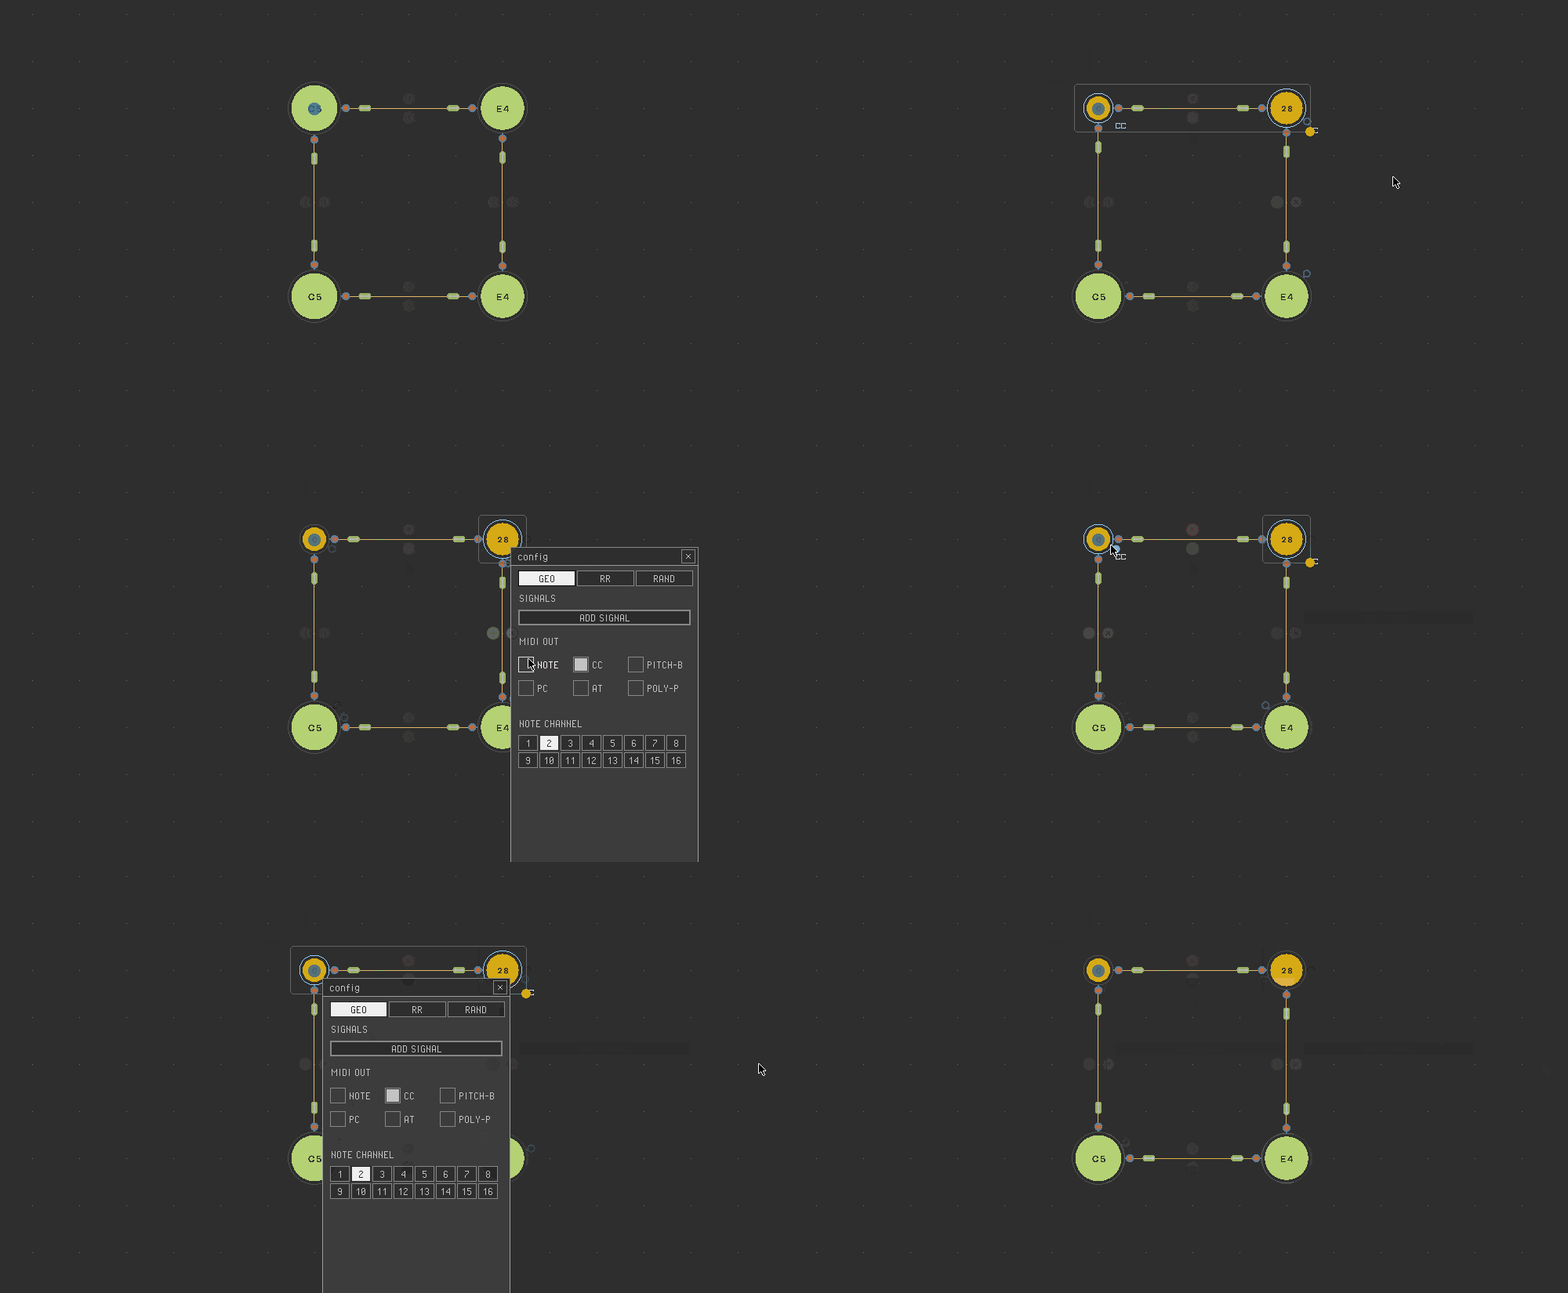
CYCLING MODES
Selecting one or more nodes and pressing the TAB key, cycles through six different midi modes. Note, Control Change, Program Change, Pitchbend, Aftertouch and Polypressure. All modes can be enabled in the context menu.
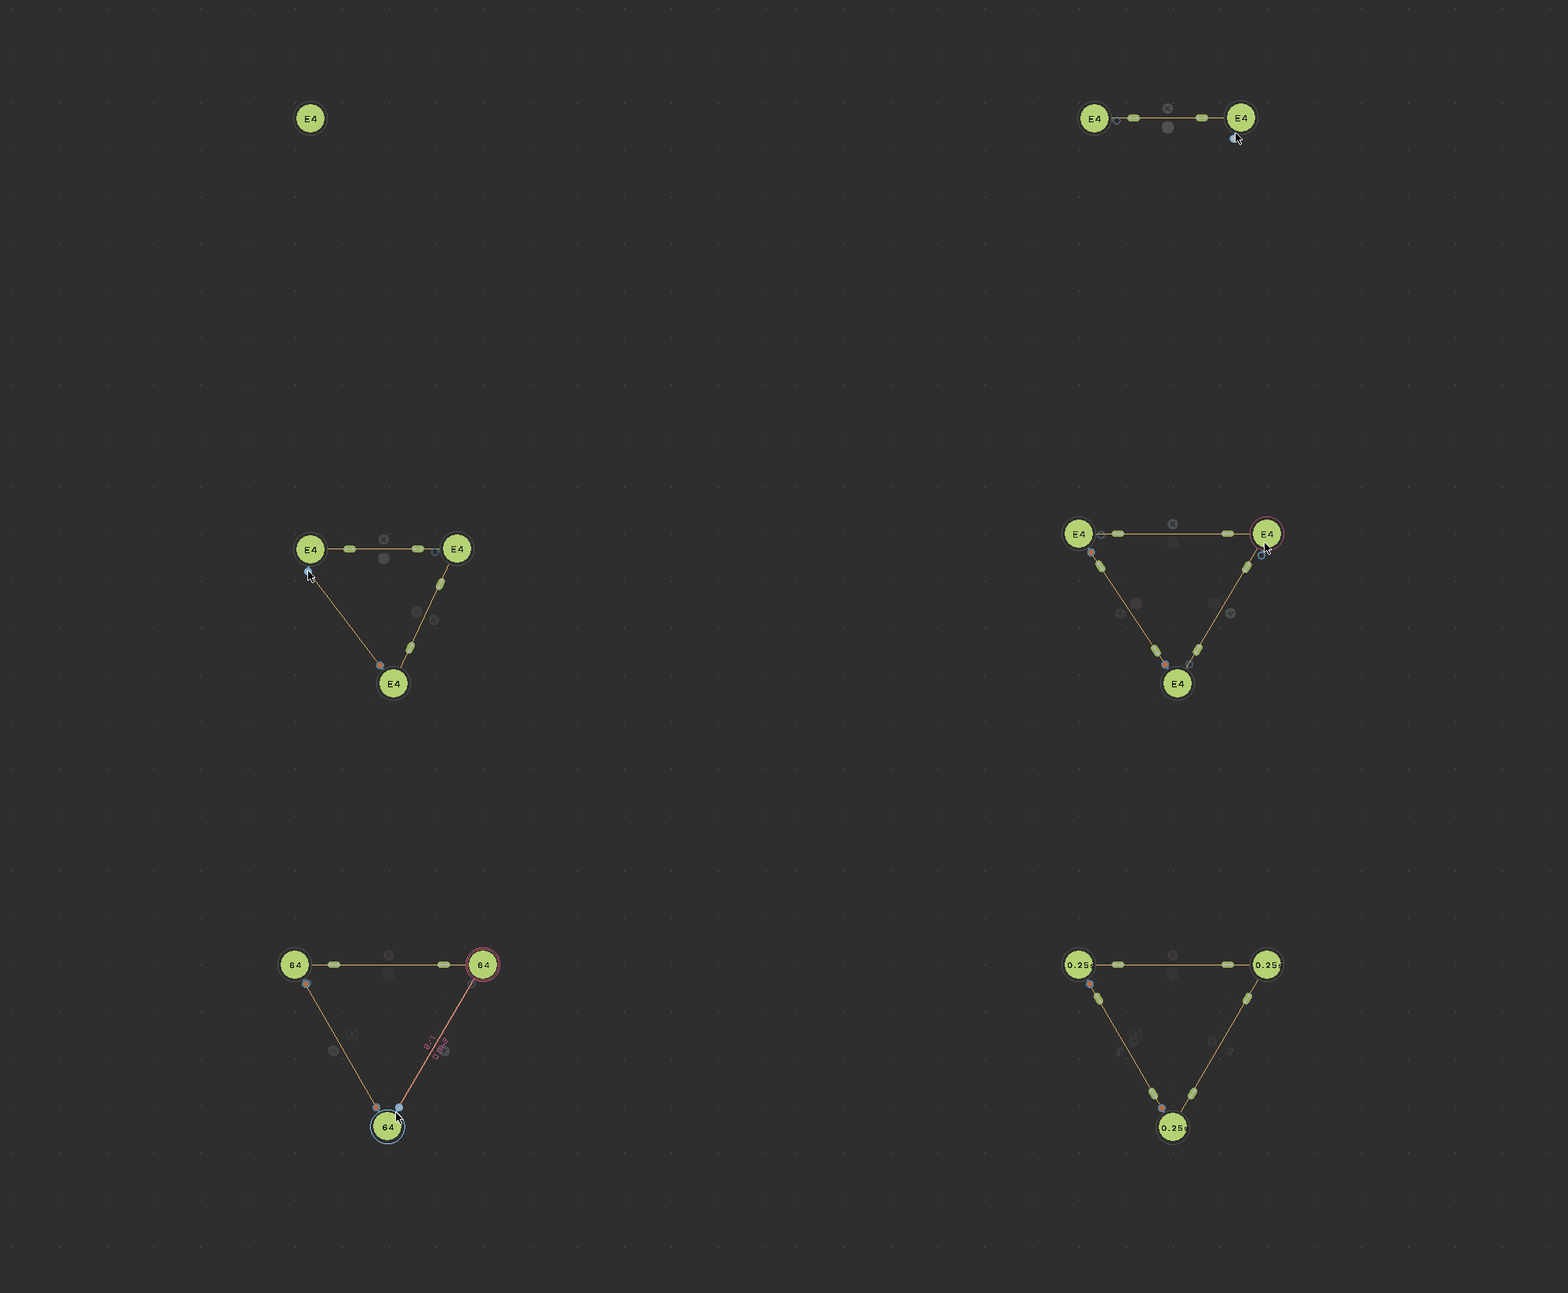
DRAGGING NODES
While dragging nodes you can use ctrl and shift to activate two different snapping modes. Ctrl enables snap to grid, while shift enables snap to other nodes. The grid is divided into 32nd notes. Snap to next nodes shows the time divisions to the closest nodes and can snap to two nodes at once to enable even sided triangles.
SELECTING NODES
Dragging the mouse on the canvas, creates a selection rectangle. All nodes in the rectanlge will be highlighted. Using the above mentioned modification methods, one can change all selected nodes at once. All selected nodes can also be moved together.
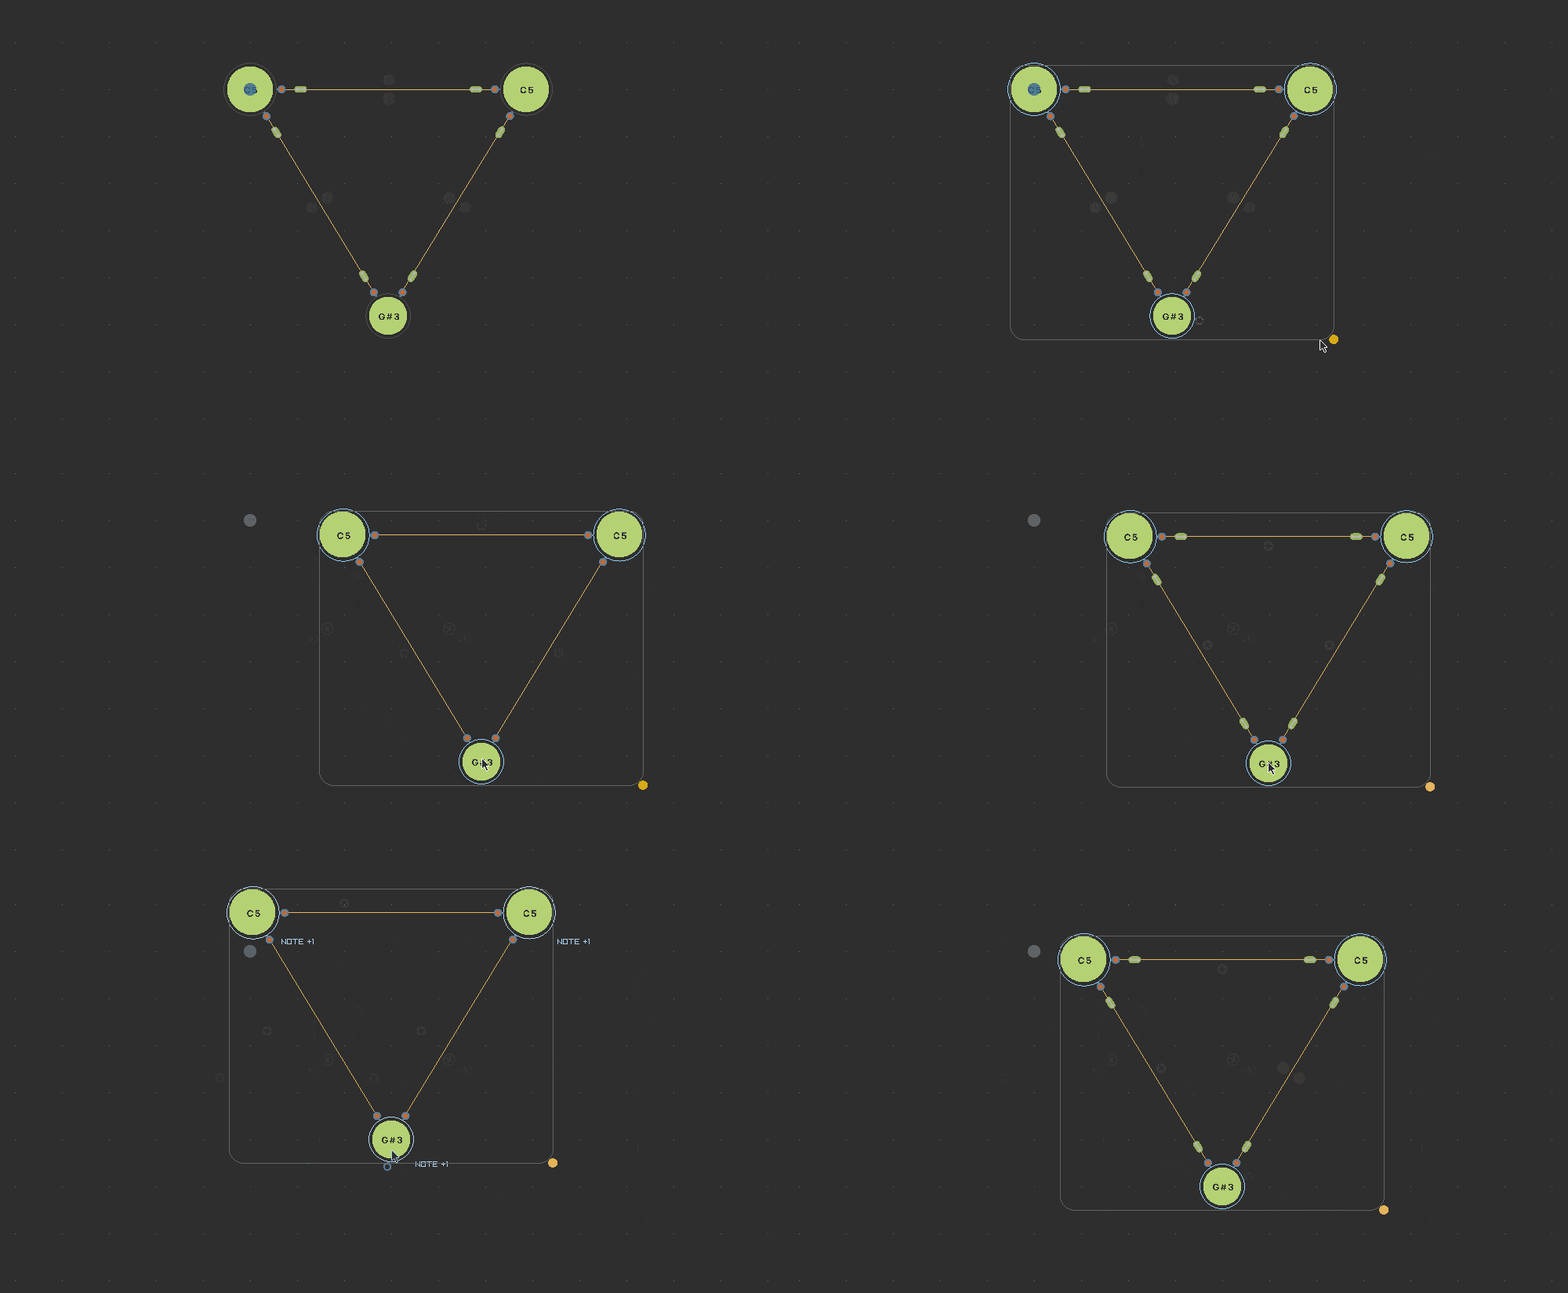
RESIZING NODES
A selection of multiple nodes can be resized. Using the modifier keys switches between uniform resizing and free resizing.
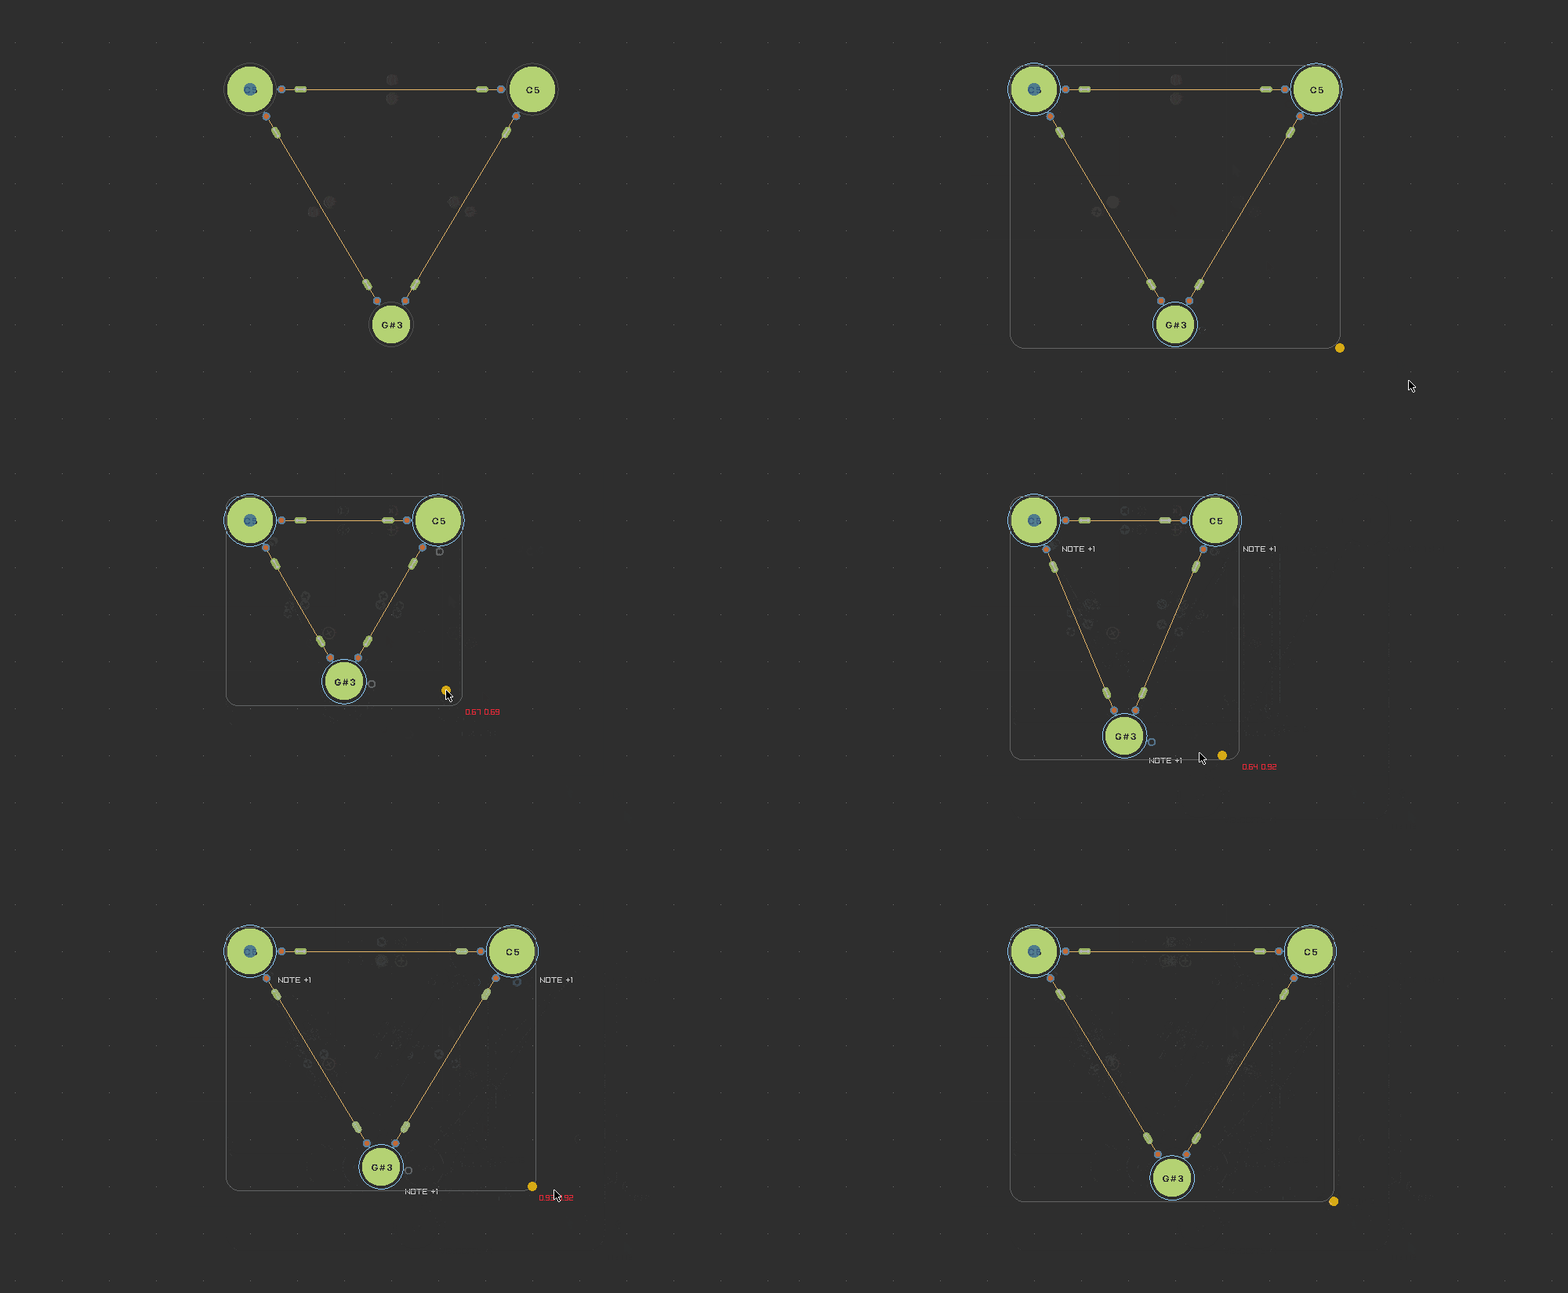
COPY AND PASTE
Selected nodes can be copied with Ctrl+C and pasted with Ctrl+V. Connections and node properties are copied, too.
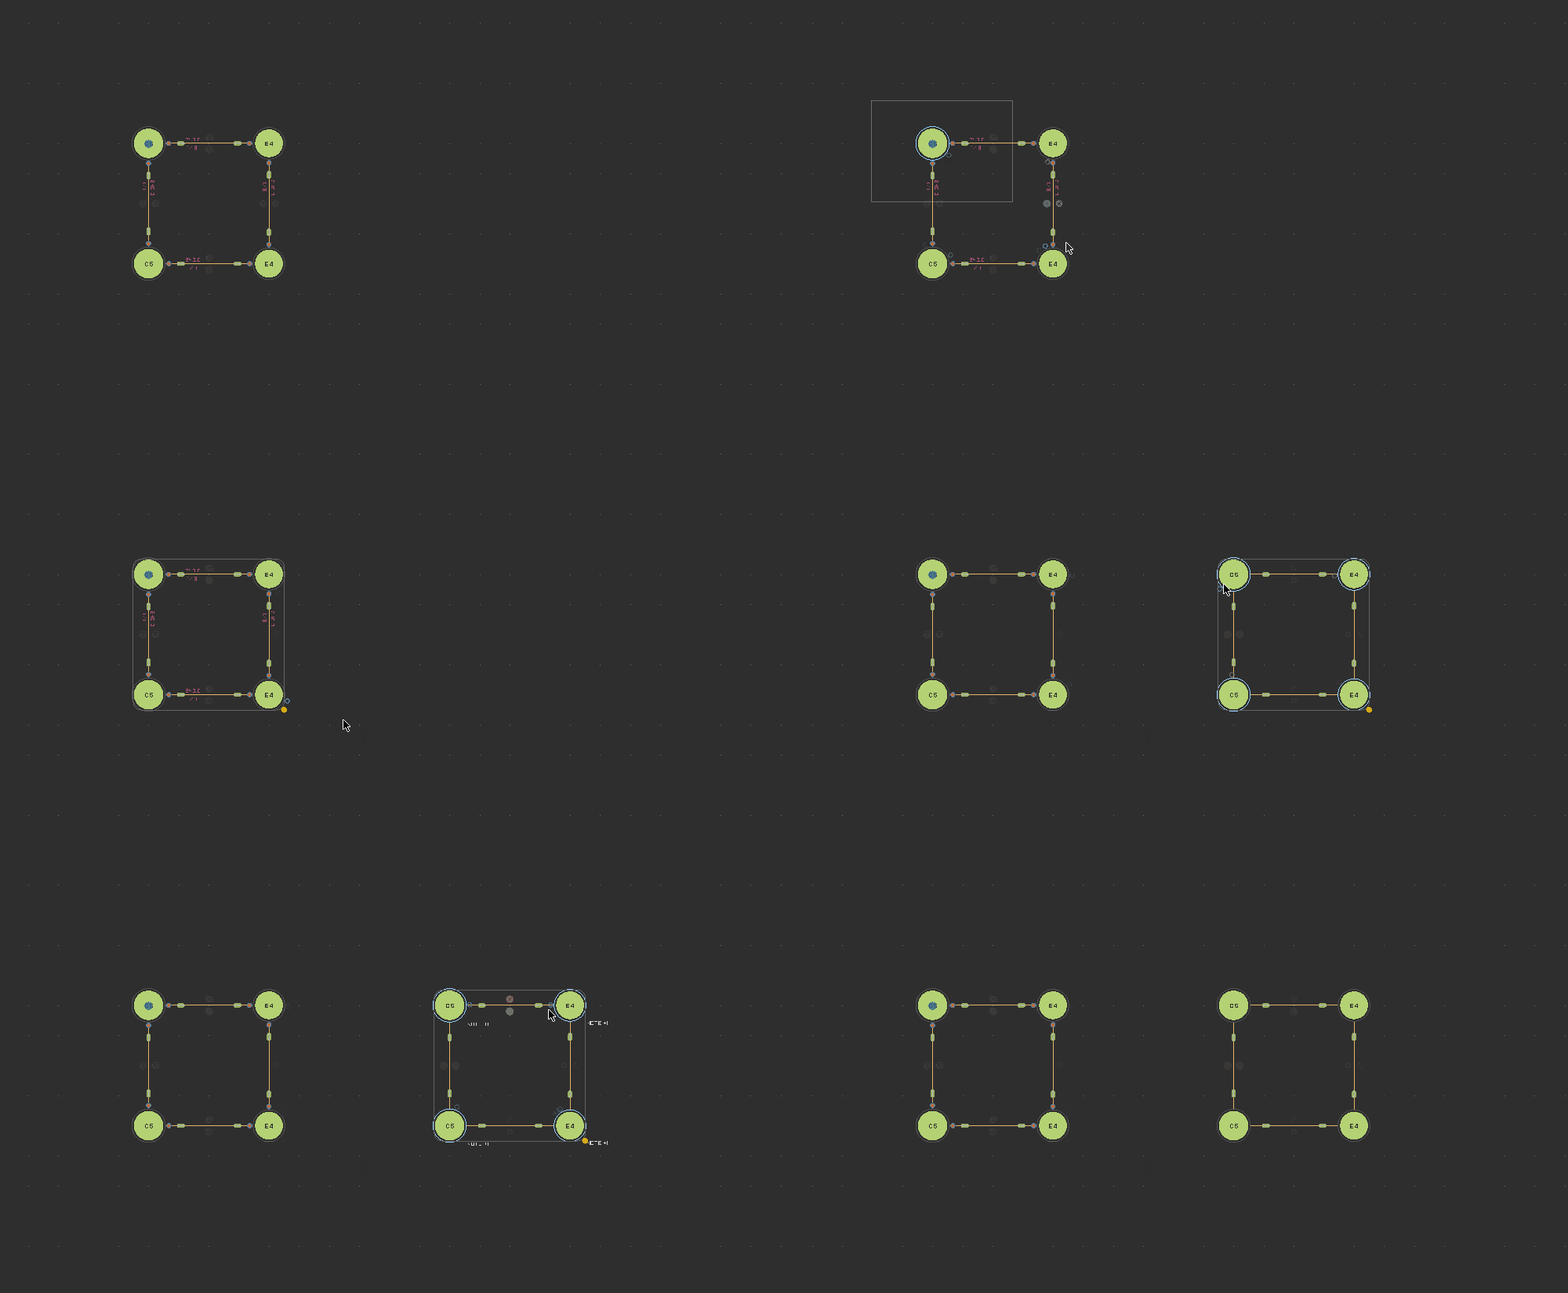
CONNECTIONS
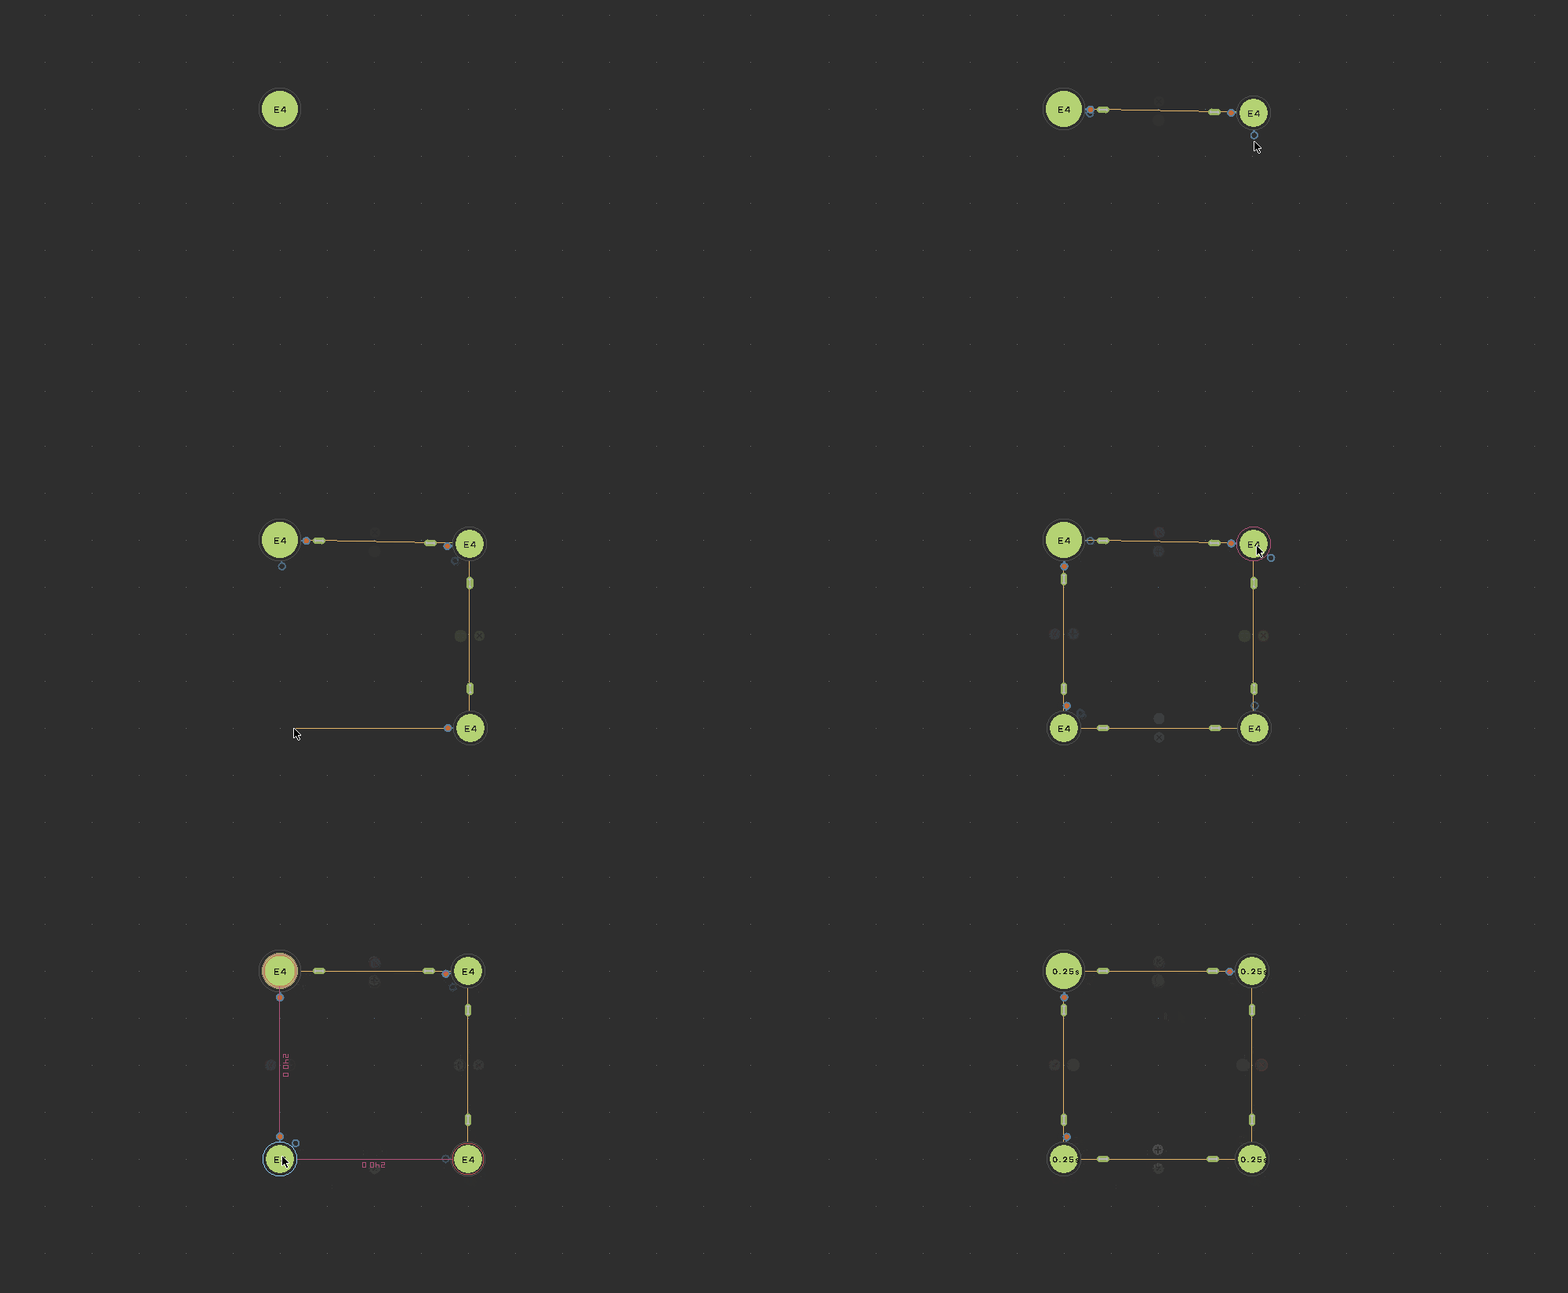
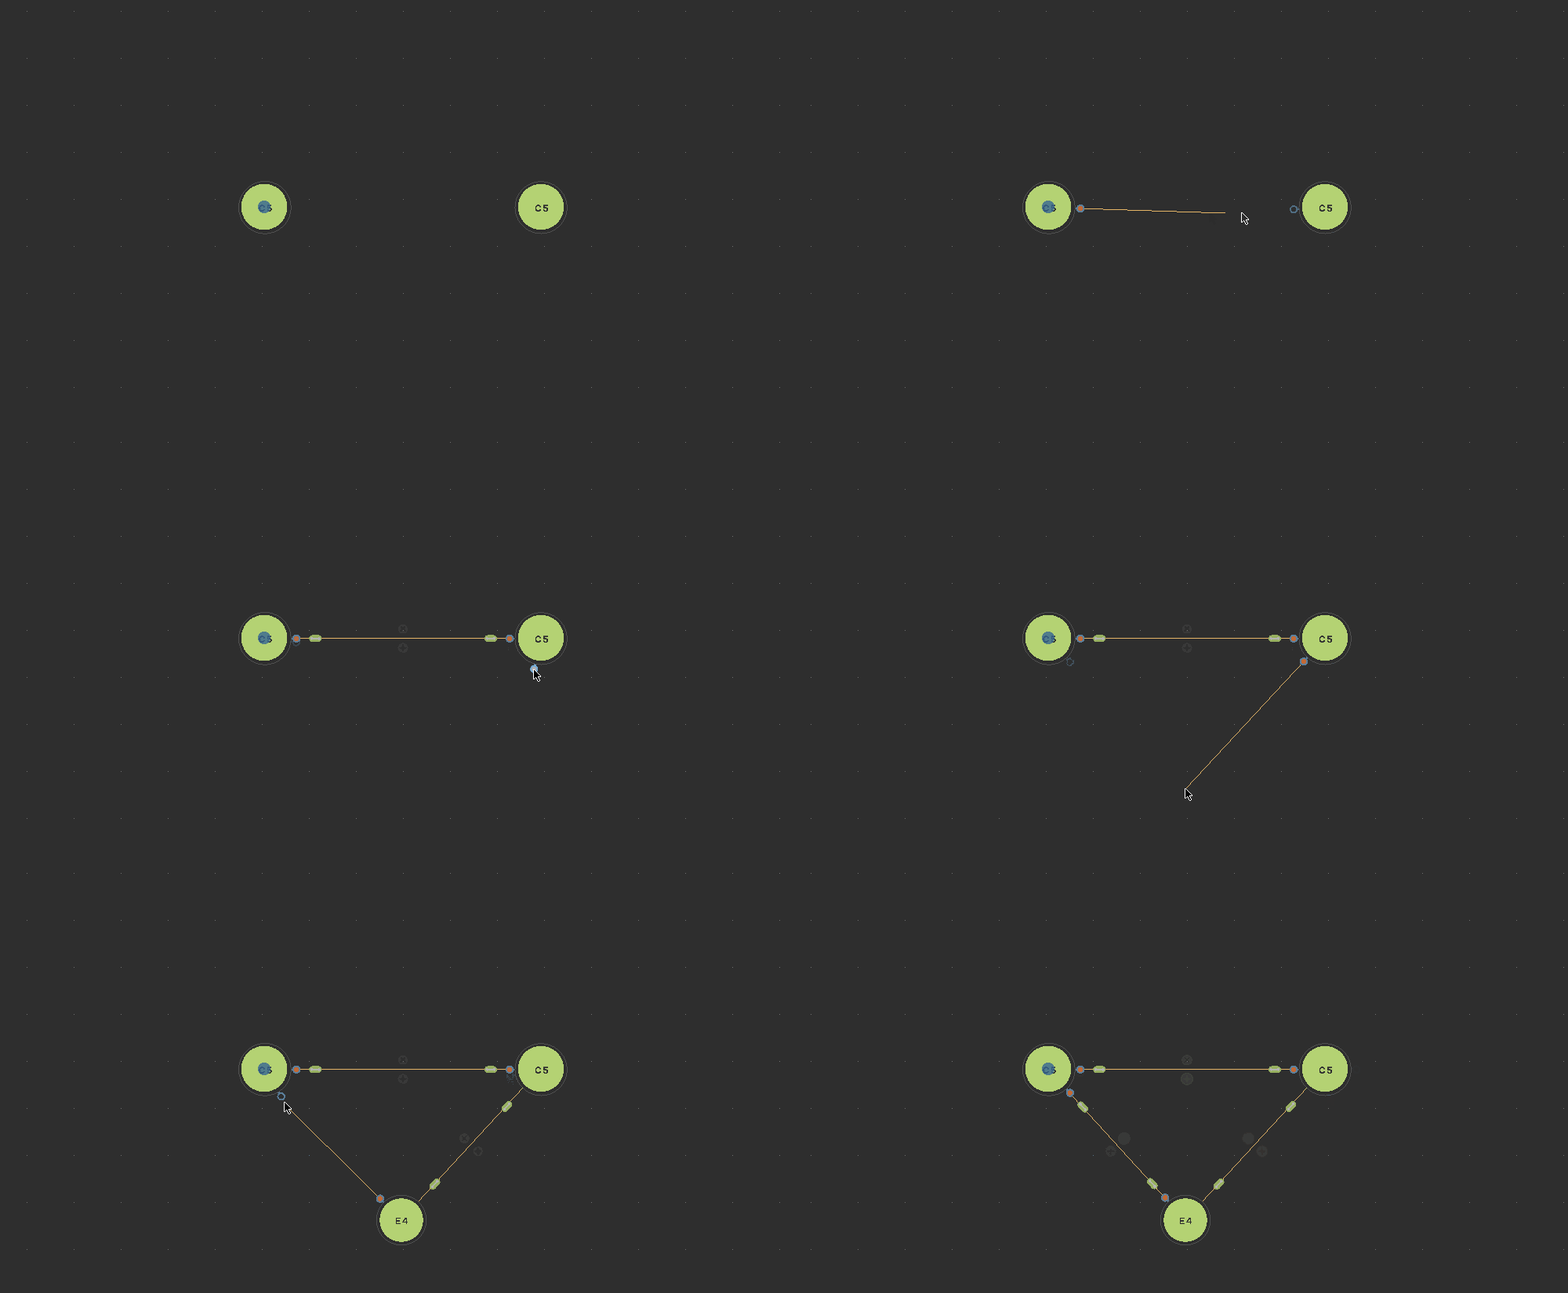
Connect nodes by dragging from the orbiting connector to another connector or node. A new connection appears. Dragging into empty space creates a new node at that point.
BLOCKING CONNECTIONS
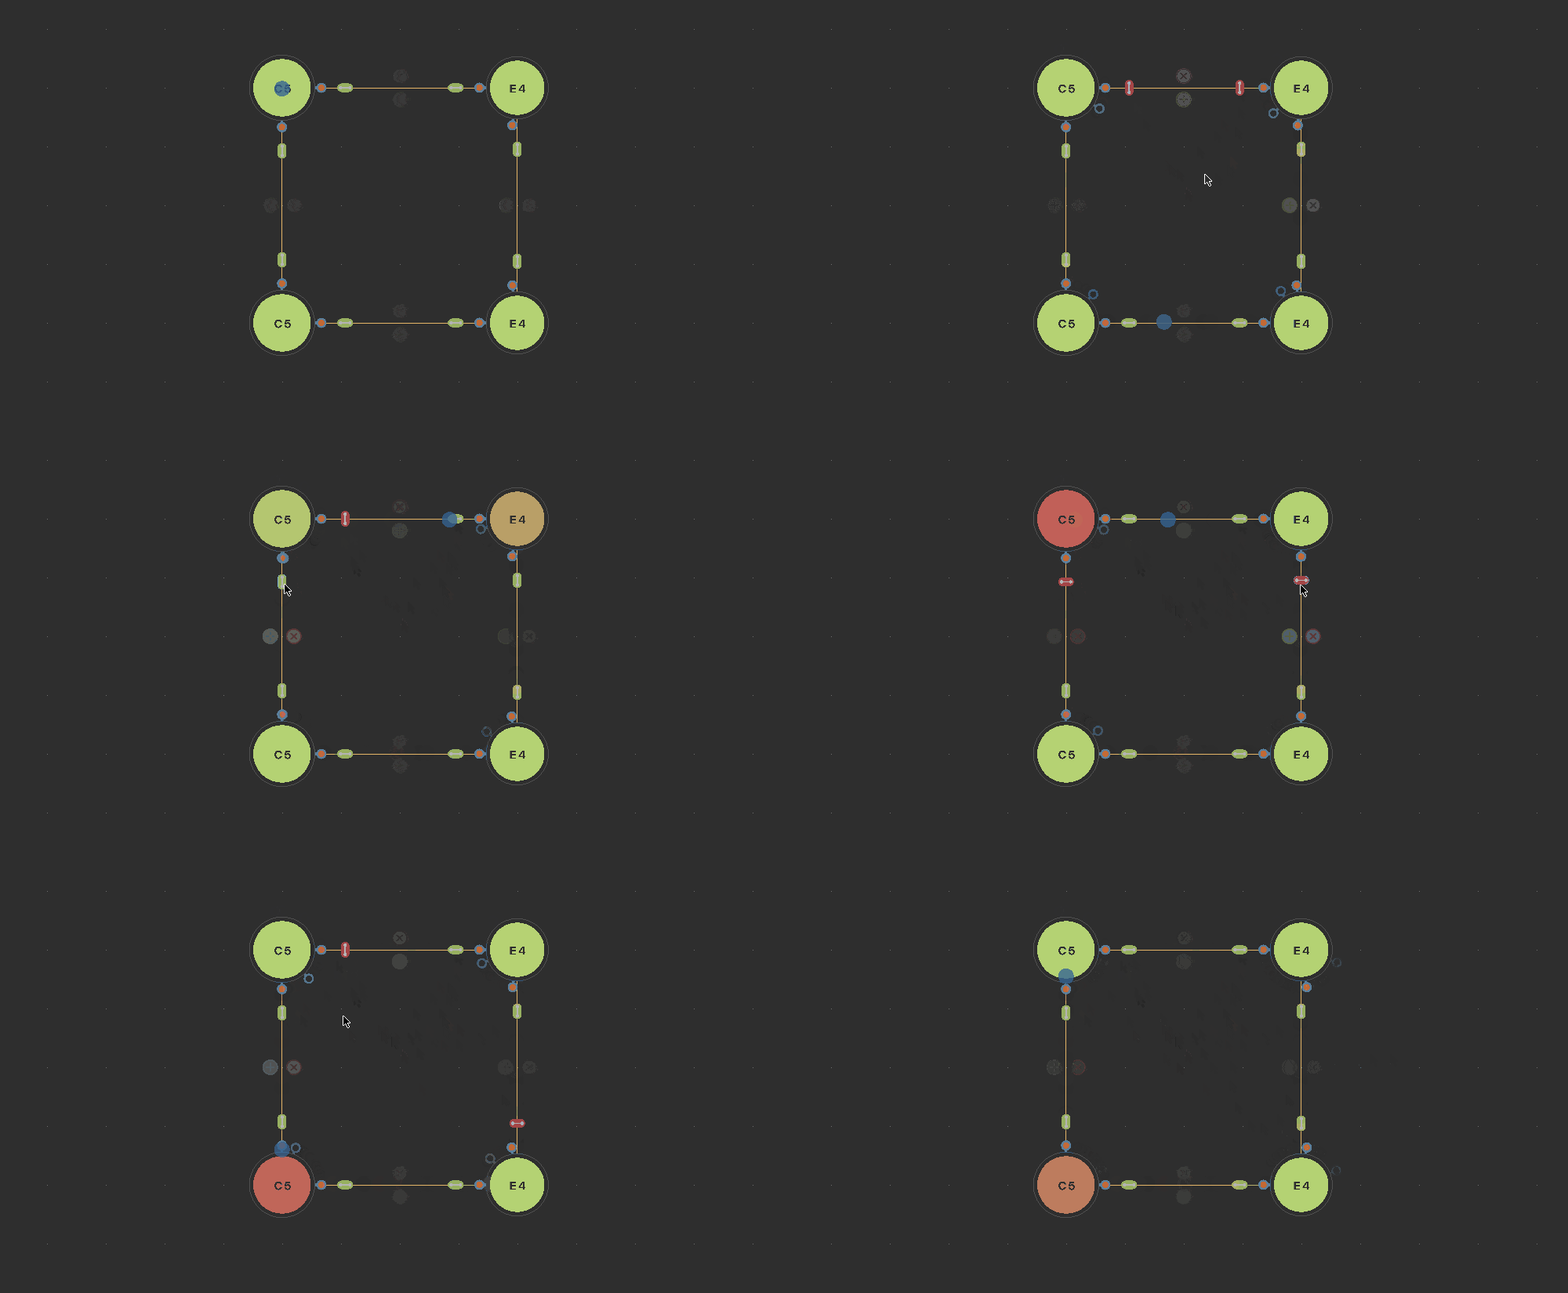
Connections can be blocked for signals from both directions. Click on the small green icon and it will block traffic coming from the node next to it but not traffic going to the node.
DISTRIBUTION MODES
Nodes can have three distribution modes, "Geometric", "RR" (Round Robin), and "Random". Distribution modes are accessible only from the context menu at the moment. Open it by right clicking on a node.
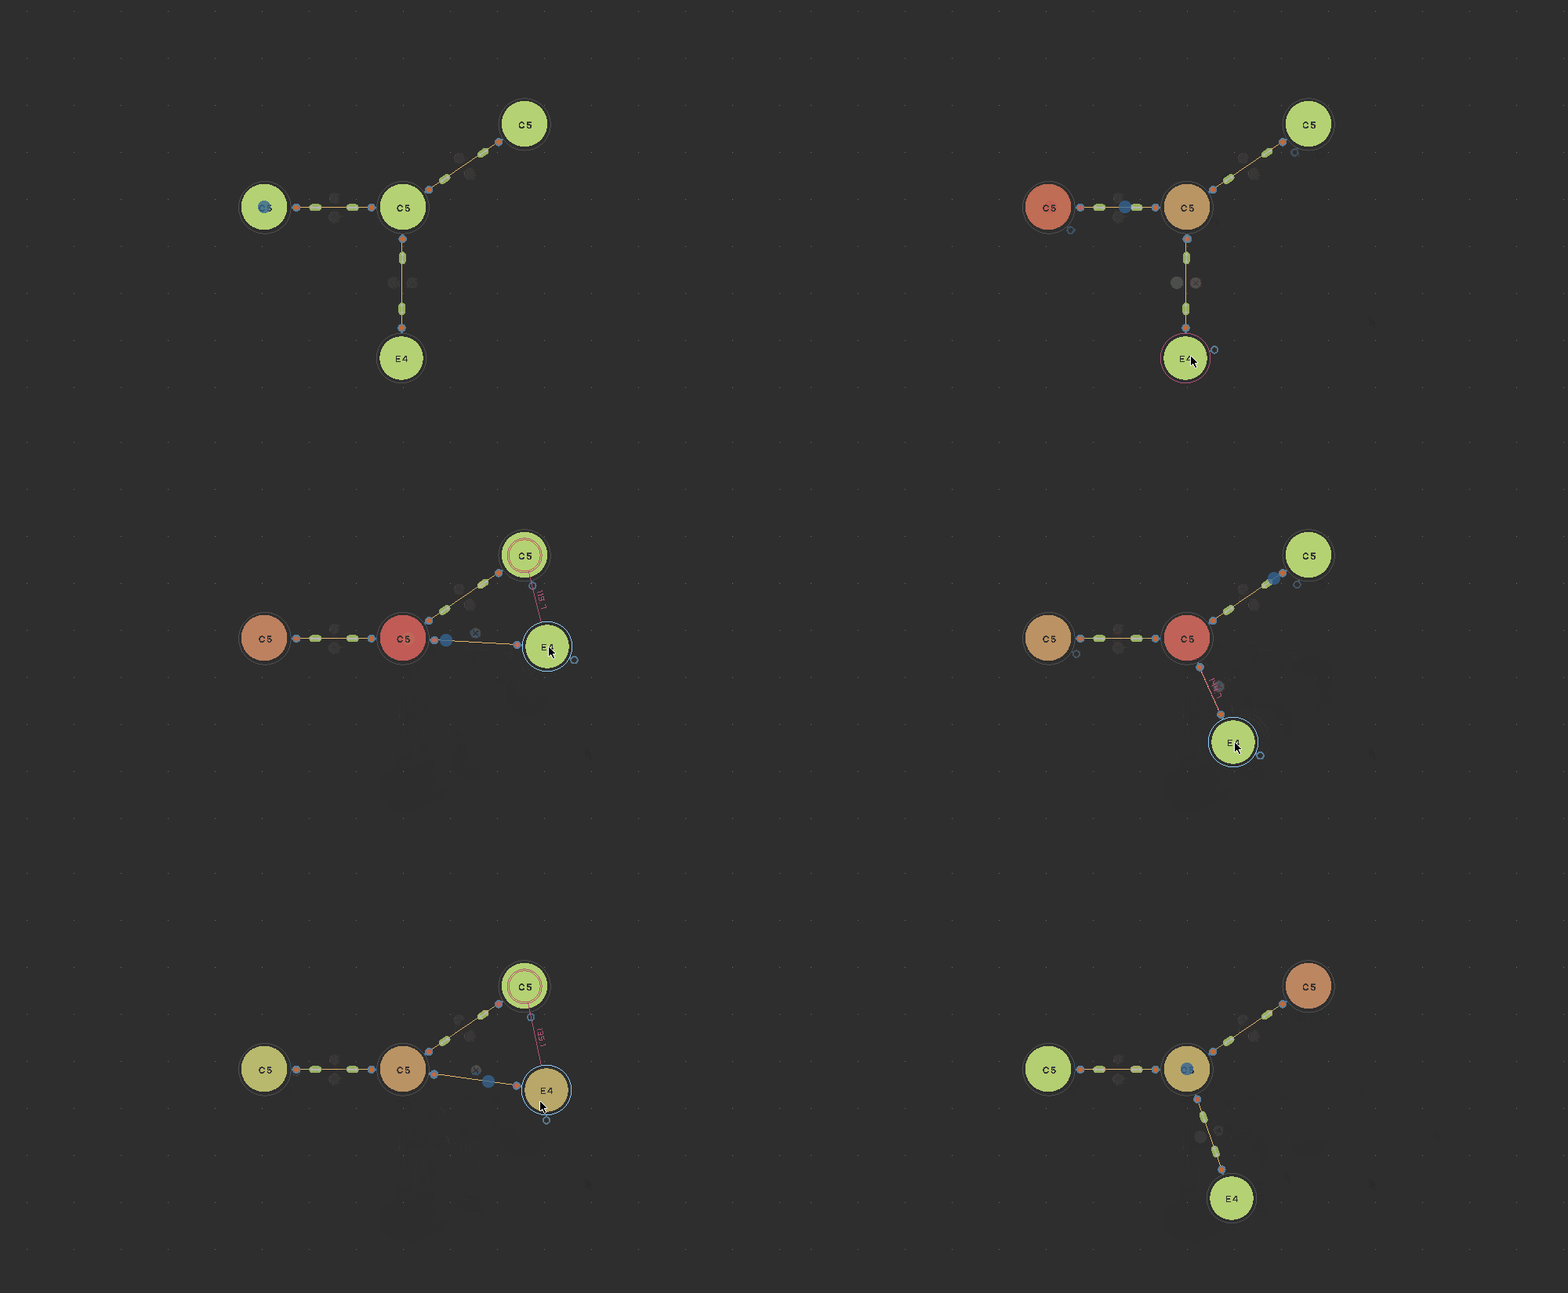
Geometric Distribution Geometric distribution means that signals take the straightest path that is available from where they come. By moving nodes around so that another connection becomes the straighter path, one can divert signals to other areas of the canvas.
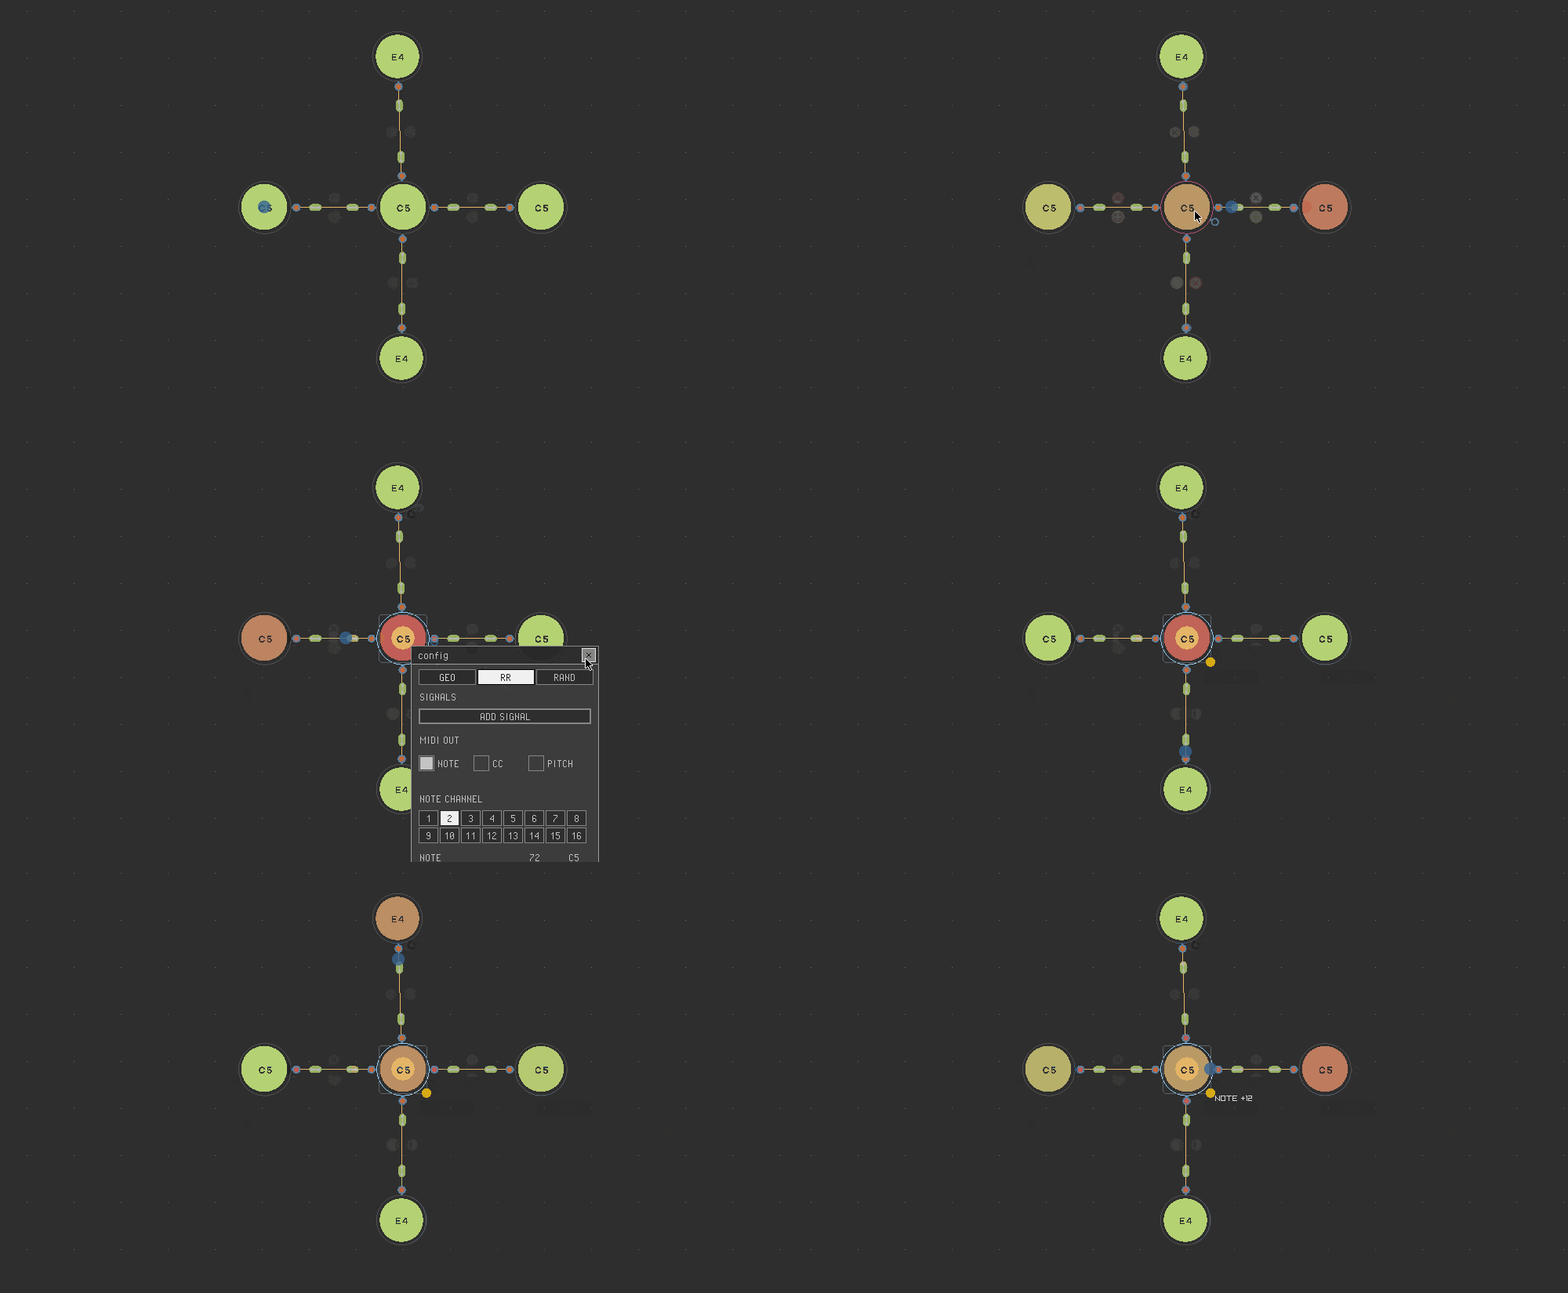
Round Robin Distribution Round Robin means, that every signal that arrives at a node with RR distribution switches the node to the next connection. With multiple signals in one path, this can lead to some beautiful patterns emerging.
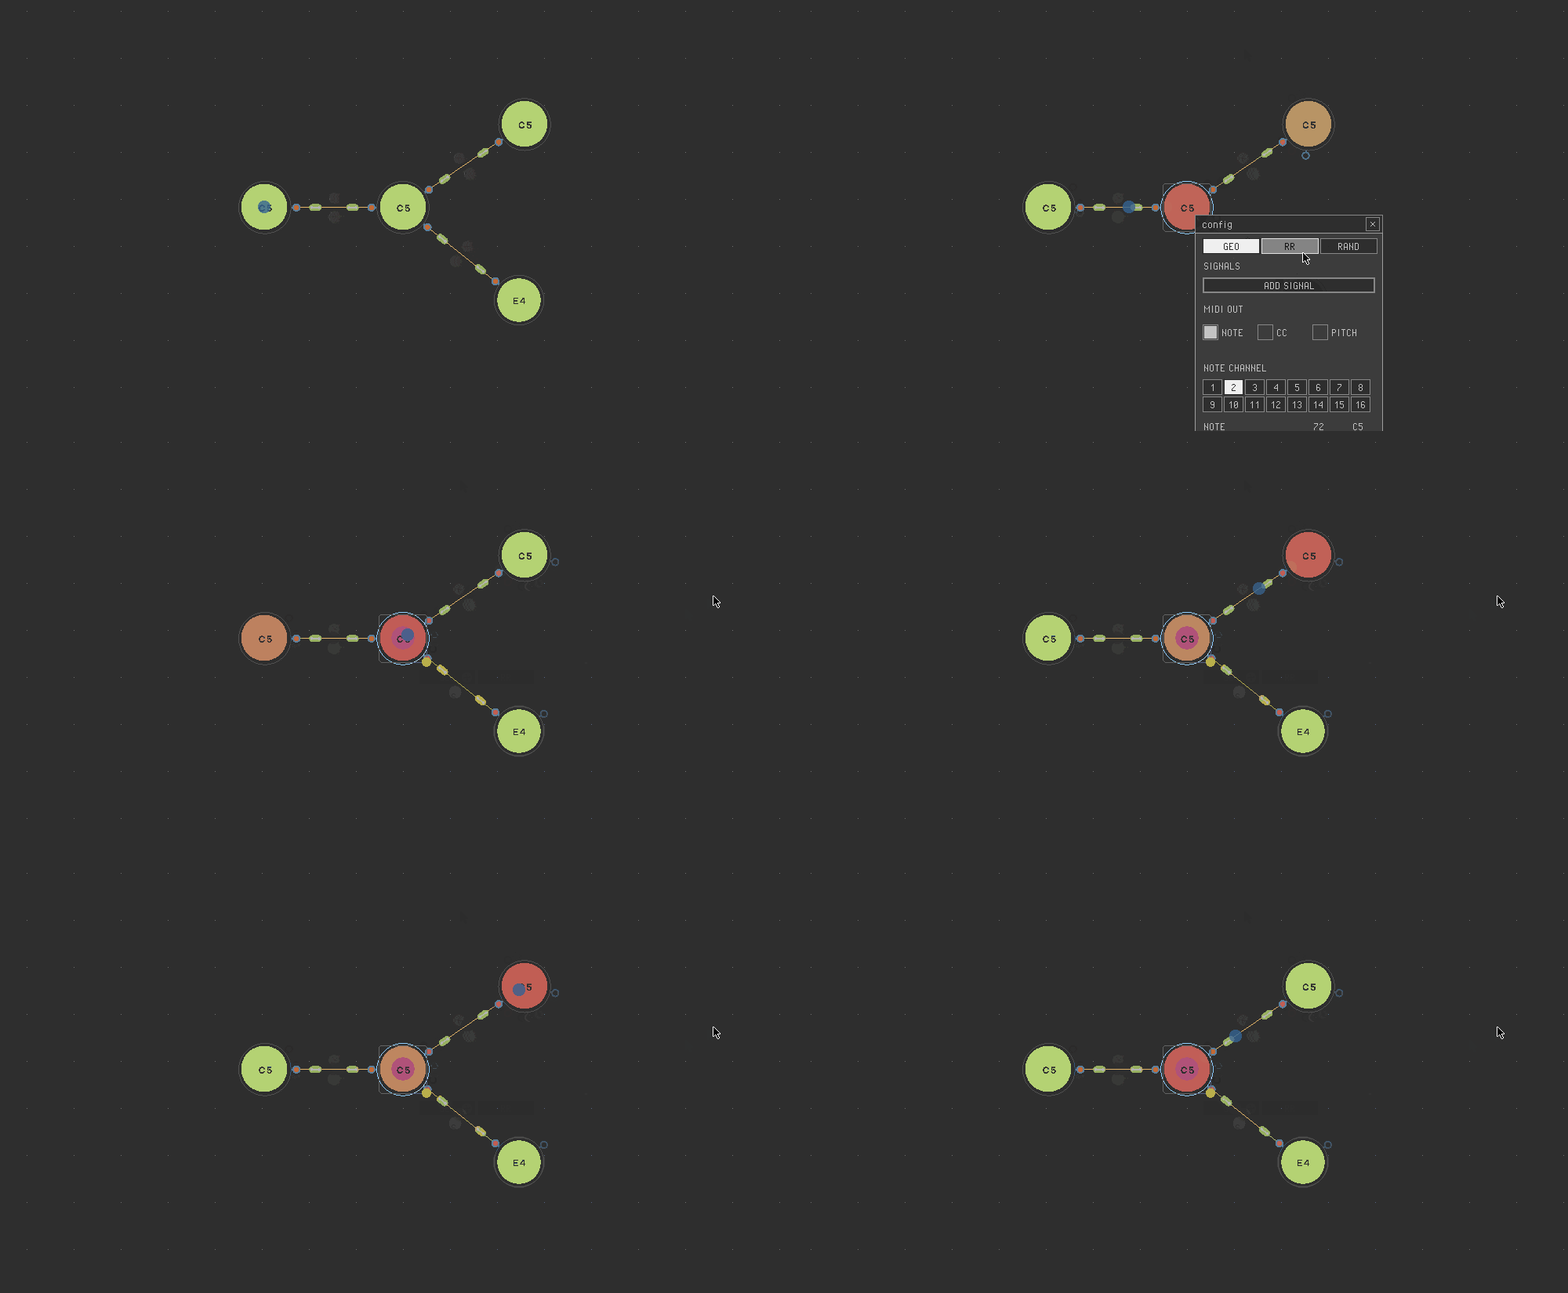
Random Distribution Random distribution sends every arriving signal to a random connection.
GRAPH
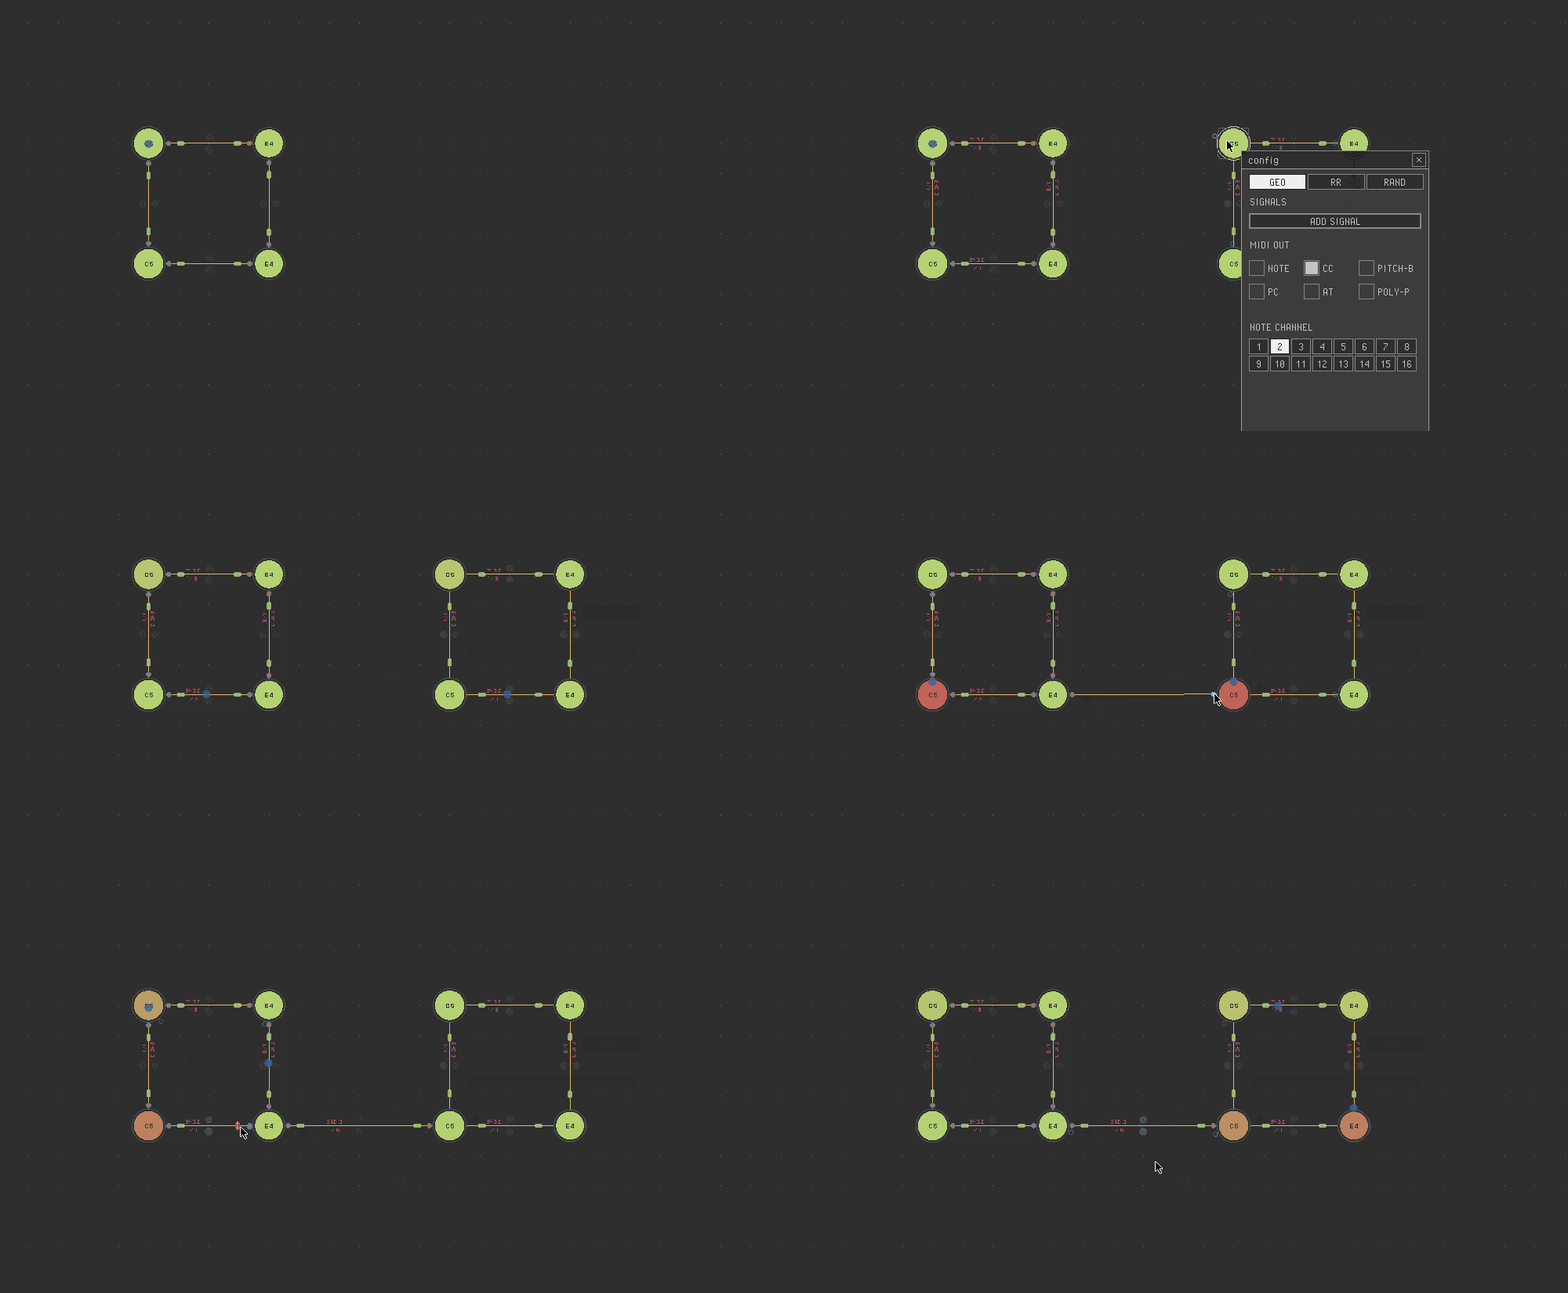
Every project can have multiple graphs. There is no artificial limit to anything (yet). I tested graphs of up to 1000 Nodes with my rather old PC and it did not loose timing precision.
SIGNALS
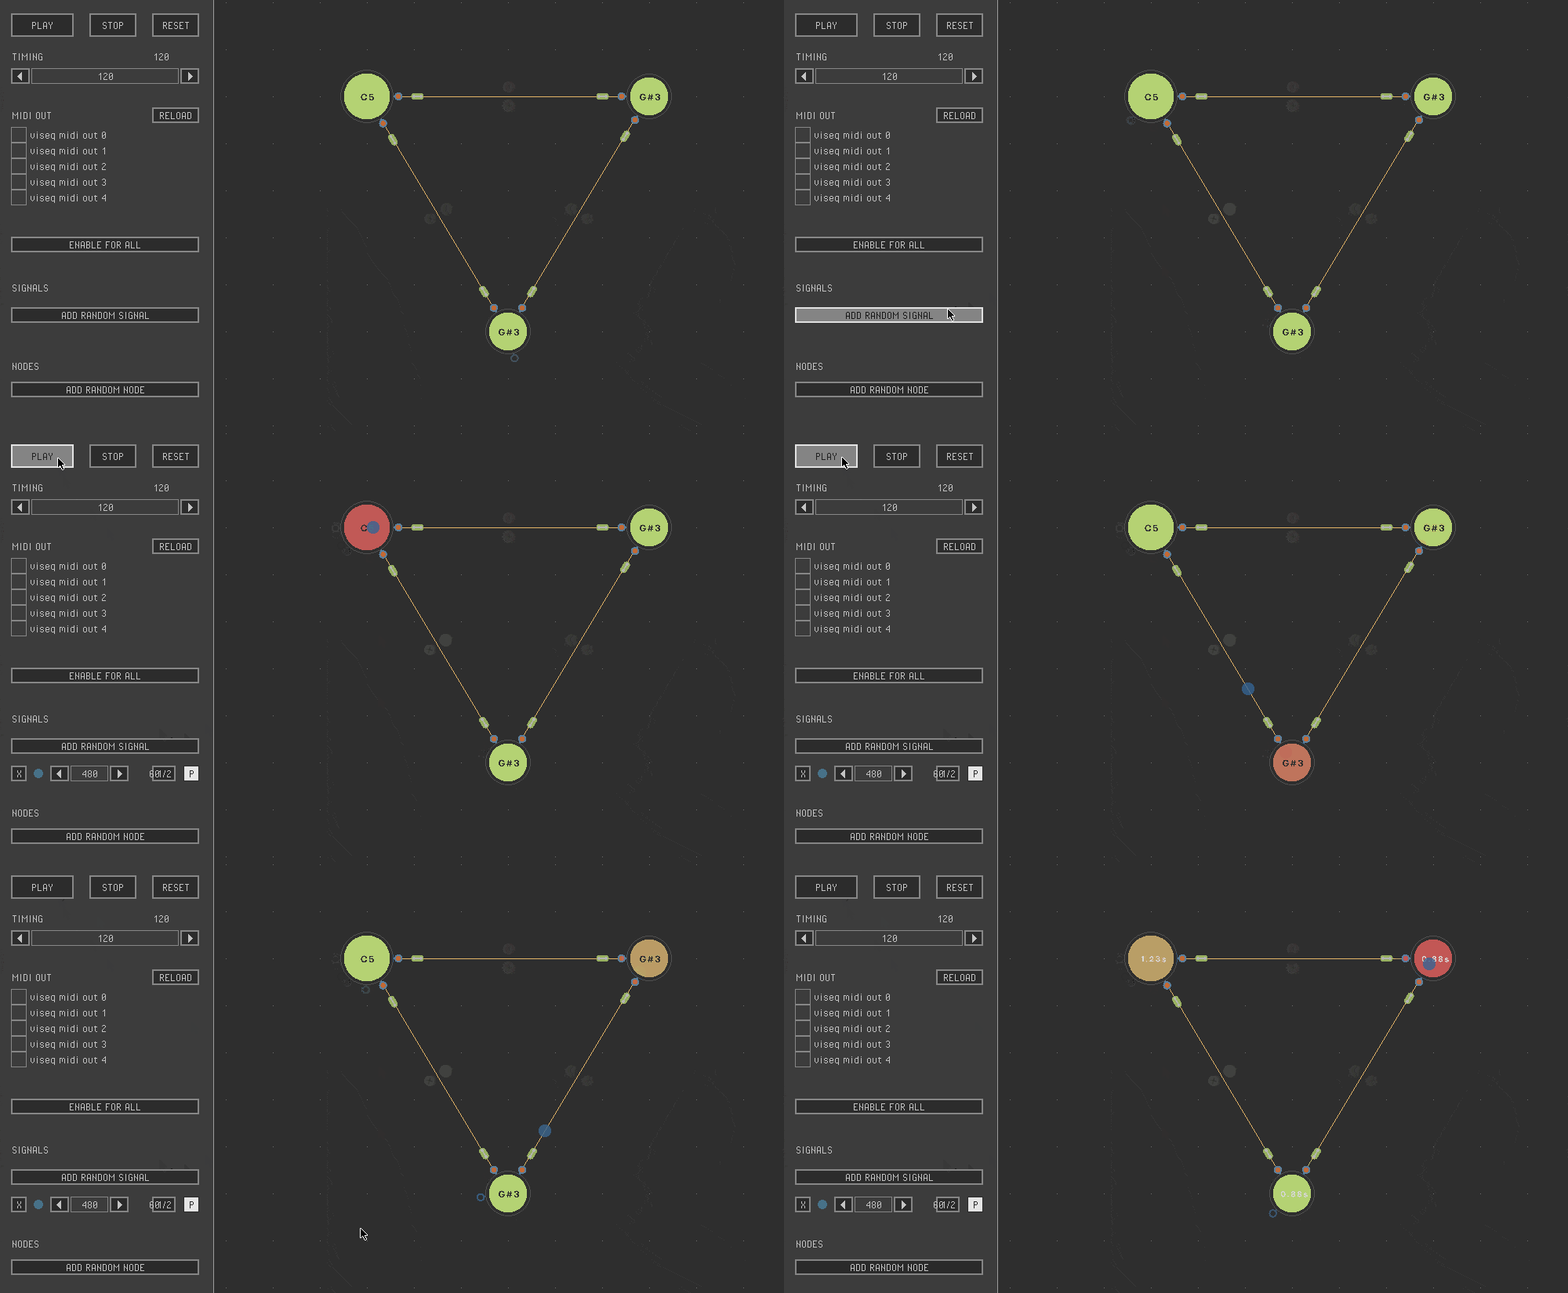
Every graph can have multiple signals. Signals can be added via context menu to every node. Signals move at the same speed initially, but that can also be changed individually for every signal (WIP). There is a global BPM setting which sets the base speed for all signals.
CURRENT TODOS
Synchronization
There is no synchronization between signals (yet), so they can get out of sync. Signals moving along the graph choose their next destination when the distance to the current destination goes below a certain threshold. This threshold is the stepsize per frame (speed) of the signal. If the distance is smaller than the stepsize, the target is reached. With this approach signals follow a node that is actively moved around which is a fun. I would like to keep that feature in but it introduces a problem. The distance measurement is not precise when done visually, since signals are moving with steps greater than 1px per frame. That works fine as long as all signals move at the same speed, but signals moving at different speeds go noticably out of sync after a few minutes.
An alternative approach could be to calculate the remaining time depending on the remaining distance to the target and have that quantized to 100µs for example.
And lots more to work on...